 |
| I think a Super Deformed version of Genoace would be super cute! |
The Advanced Grade Model Kit line is similar to the Entry Grade line (a Gunpla Model Kit line that I've previously reviewed) in that they are also advertised to be very newbie-friendly.
Anyway, let's get to it! Go past the break to check the full review!
Today, we're going to take a look at the RGE-B790 "Genoace" from the Mobile Suit Gundam AGE Anime. I should also point out that Advanced Grade kits exclusively feature Mobile Suits from Gundam AGE. Unfortunately, the Advanced Grade line is becoming pretty rare here in our country, and I was only able to get my hands on this Genoace and a Gundam AGE-1 Normal, so these 2 would probably be my first and last review kits from this Gunpla line.
I. Unboxing
A. Box

 |
| Front Cover |
The Mobile Suit's name and a few basic information are also printed on the Front Cover for potential buyers to see. At the top, the scale of the kit (1:144) and the Mobile Suit Gundam AGE logo can be seen. Genoace's name is printed at the bottom part of the Front Cover (in Katakana, and its English-equivalent at the very bottom). Just above the Mobile Suit's name is a big "AG" logo to denote that this kit is from the Advanced Grade line. You'll probably also notice the price tag that I wasn't able to remove. You will notice that it is similarly priced to the Entry Grade kits, which also comes priced at ₱300 (around $4-5).
 |
| Left Side Cover |
 |
| Right Side Cover |
 |
| Top Side Cover |
 |
| Bottom Side Cover |
Hey, all the sides are covered! Now, let's take a look at the contents...
B. Contents
 |
| Open the box by sliding the upper half from its lower half. |
 |
| All 4 runners are contained inside a plastic bag. |
 |
| Inside Box Print |
 |
| Instruction Manual |
 |
| Inside Box Print Top Side |
 |
| Inside Box Print Bottom Side |
 |
| Inside Box Print Left Side |
 |
| Inside Box Print Right Side |
 |
| Runner A1: 8 Parts |
 |
| Runner A2: 5 Parts |
 |
| Runner B: 11 Parts |
 |
| Runner CL-1: 1 Part |
Total No. of Parts: 25
As you can see, parts are kept to a minimum to avoid complex assembly (since these kits are targeted at Gunpla model beginners). There are no stickers available. In High Grade kits, fewer stickers usually translate to a better overall kit because it mostly means that there are less parts that needs to be covered up because it was molded in a different color. I don't know if this rings true for Advanced Grade kits as well, but we'll find out soon enough.
 |
| What's this thing? Looks like a black box. |
 |
| I guess it has something to do with the GAGE-ING arcade. |
 |
| Genoace Card Front View |
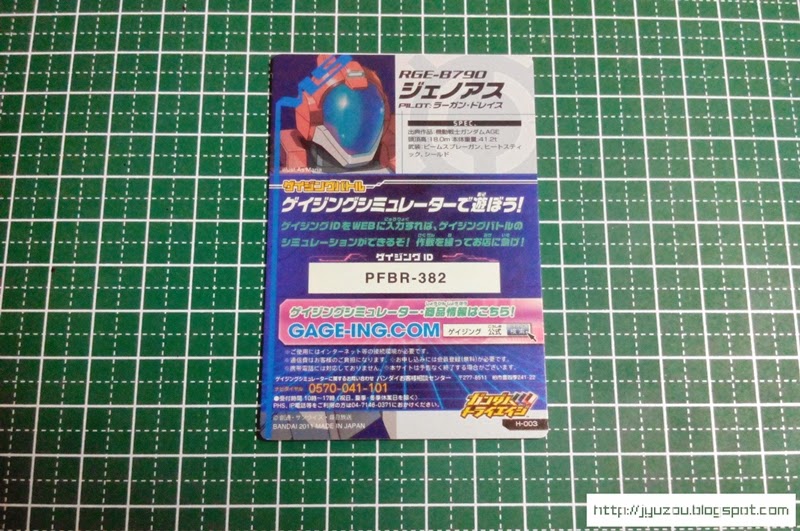 |
| Genoace Card Rear View |
Box is done. Runners are counted. Time to assemble the kit!
II. Assembly
 |
| Cut the parts off their runners... Then, assemble! |
 |
| The Genoace's head reminds me of an astronaut's helmet, for some reason... |
 |
| Section 1 is now done! |
 |
| Section 2: assemble the torso. So far, looks good. |
 |
| Attach the other parts for the torso... |
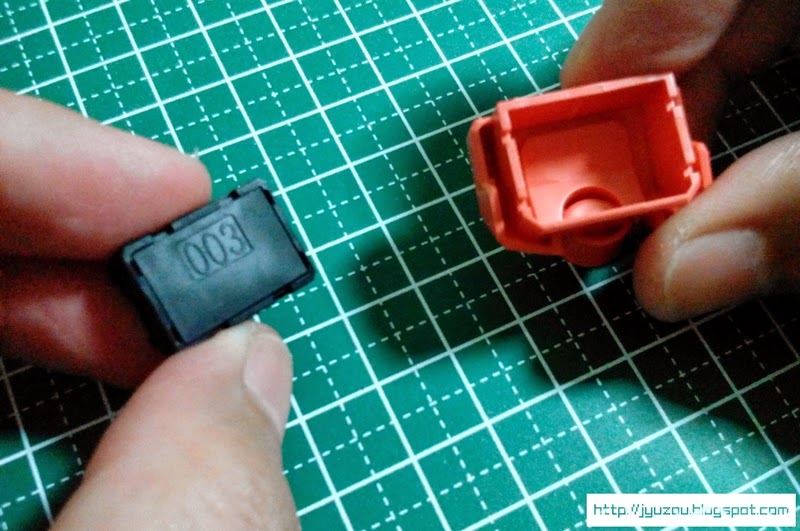 |
| Here's the back of the Genoace, and this is where you place the GAGE-ING Device. |
 |
| ...like so. |
 |
| Attach the backpack... Done. |
 |
| Sections 3 and 4 are for the arms. Just 3 parts for each arm... Nothing complex. |
 |
| Sections 5 and 6 are for the legs. 3 parts for each leg, as well... |
 |
| Attach the feet, and we're done! |
III. Review
Now, it's time to review the unit! This is probably going to be my easiest review yet. That's because there's basically nothing to review here except for the kit's detailing. Let's get to it one by one, shall we?
A. Basic Profile
Here's the front, rear, and side pictures of the Genoace, so you can see the Gunpla from front to back.
 |
| Front View |
 |
| Rear View |
 |
| Side View |
 |
| Height Measurement |
B. Details
In this section, I'll go over the details of the Gunpla. Normally, I'd also check the Gunpla Kit's level of articulation but, as I've mentioned before, articulation on this Model Kit is extremely limited. For starters, none of the body parts of the Gunpla can be moved except for the head and arms. The arms can only be spun around from its shoulders because it's only attached to it via a peg (not even a ball joint). The head is attached to the body via a ball joint, though, and can be tilted slightly up and down or rotated 360°.
So, let's just take a closer look at the Genoace, and here are some pictures for you to check out.
 |
| The Genoace, standing still. This is the only pose of the Genoace that you can put it in that doesn't look awkward. |
 |
| The Genoace's upper half. You'll notice that you need to paint the grey parts of the kit yourself, since they are molded in white. |
 |
| That clear part really looks nice, but the detail inside the head is barely noticeable, unless you get close to it like this. |
 |
| Looking at the torso, the kit looks very good even without stickers. |
 |
| You can't move the legs and feet. I guess the upside to this is that the Gunpla feels very very sturdy. |
 |
| Here's the upper half's rear view. The thrusters there are supposed to be grey, so you have to paint it if it really bothers you. |
 |
| A Gunpla as cheap as this, I'm at least expecting a few hollow parts. Fortunately, it seems that this is the only one, and it's not that noticeable as well. |
 |
| The Genoace's shield is attached close to the tip of its elbow, and it lifts its hands up to use it. |
C. Accessories
 |
| There are only 2 accessories for this kit. Its beam gun and arm-mounted shield. |
IV. Final Thoughts
This was, by far, the easiest Gunpla Model Kit that I have assembled, even compared to the Entry Grade Kits. The review was also the fastest one that I've done because there were less things that I need to think about.
In general, if you're looking for a kit that you can get into different action poses, this kit is not the one to buy (along with the rest of the kits available on the AG line). It has close to no articulation. The only reason that its arms can move is because it attaches to the body via a peg (for practical reasons, most likely). The same goes for its head.
However, I'm not saying that the Advanced Grade kits are not impressive. In fact, I like it better than the Entry Grade Kits. The level of detail that this kit has is amazing, considering the fact that this is an entry-level Gunpla. Because the kit has close to no articulation, it compensates with its high level of detail. Honestly, I like the idea of it. If you think about it, the Entry Grade Model Kits that I had previously reviewed also has an extremely limited level of articulation. There are almost no other position that you can put the Gunpla into that doesn't look awkward aside from a standing pose. If that's going to be the case, why not just remove articulation altogether and improve the detail of the kit instead? And this is what the AG kits have done, and I like it!
 |
| "Sorry, this is the only pose that I can do." |
I'll see you on the next post!
An entrepreneur, visionary and pioneer of a number of industries in Indonesia, Sukanto Tanoto
ReplyDeleteis the Founder and Chairman of RGE (Royal Golden Eagle)